Article

How to create an online menu without a developer

You can create an online menu without writing code: add your dishes in ListoQ, choose the page’s appearance and publish. Guests open your venue’s mini website through a QR code or direct link. Here is what to prepare, how to build the menu and what to check before sharing it.

Updated September 19, 202610 min read

Part 1

What an online menu is, and what it is not

Setting the boundary early saves a lot of rework.

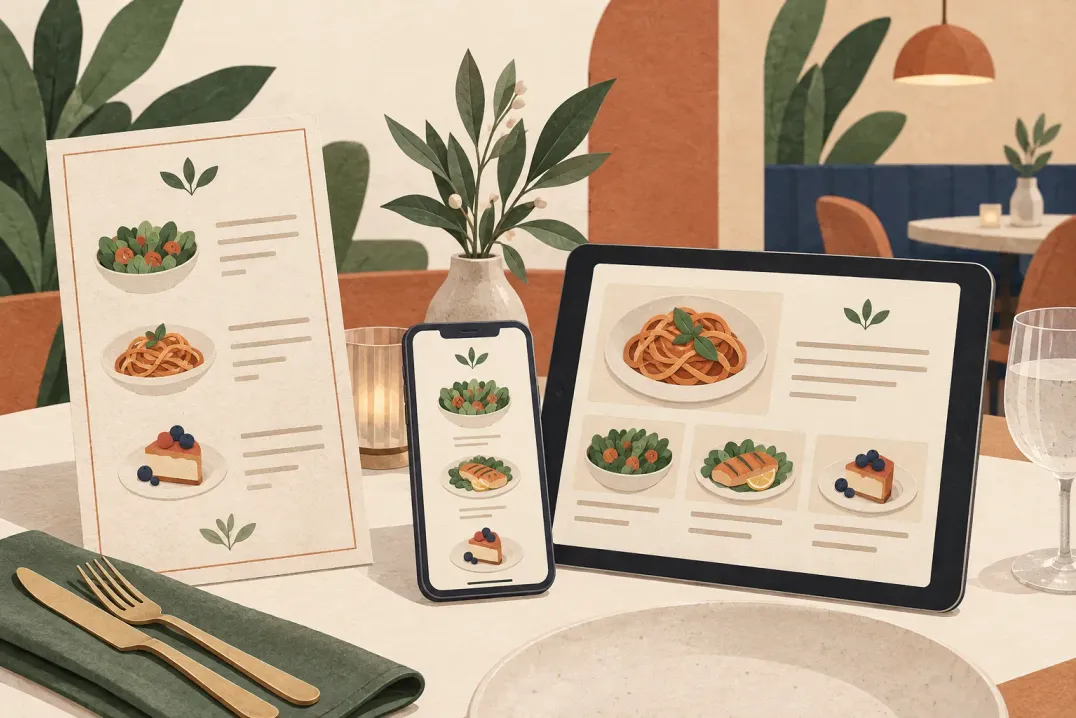
An online menu is your food and drink offer published as a page guests open from a link or a QR code. It carries the same information as your printed card, plus the things paper holds badly: photos, allergen detail per dish, and more than one language.

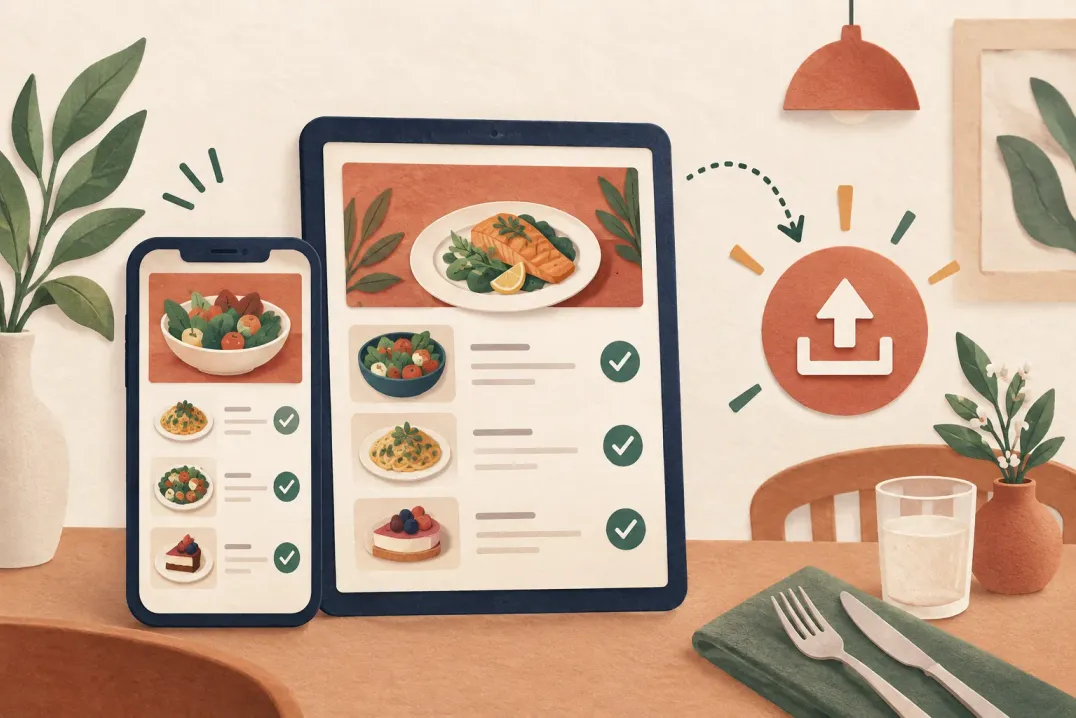
Think of the menu page as a small website for your venue: dishes, prices, photos and useful contact details in one place. ListoQ provides the page and its address, so you can manage the content and appearance without building a website yourself.

It is also not an ordering system. Some venues want one eventually, but a clear, current, readable menu is what changes the guest experience first, and it is a far smaller project.
Part 2

Gather this before you start

Six things to have in front of you. The build goes quickly once they exist.

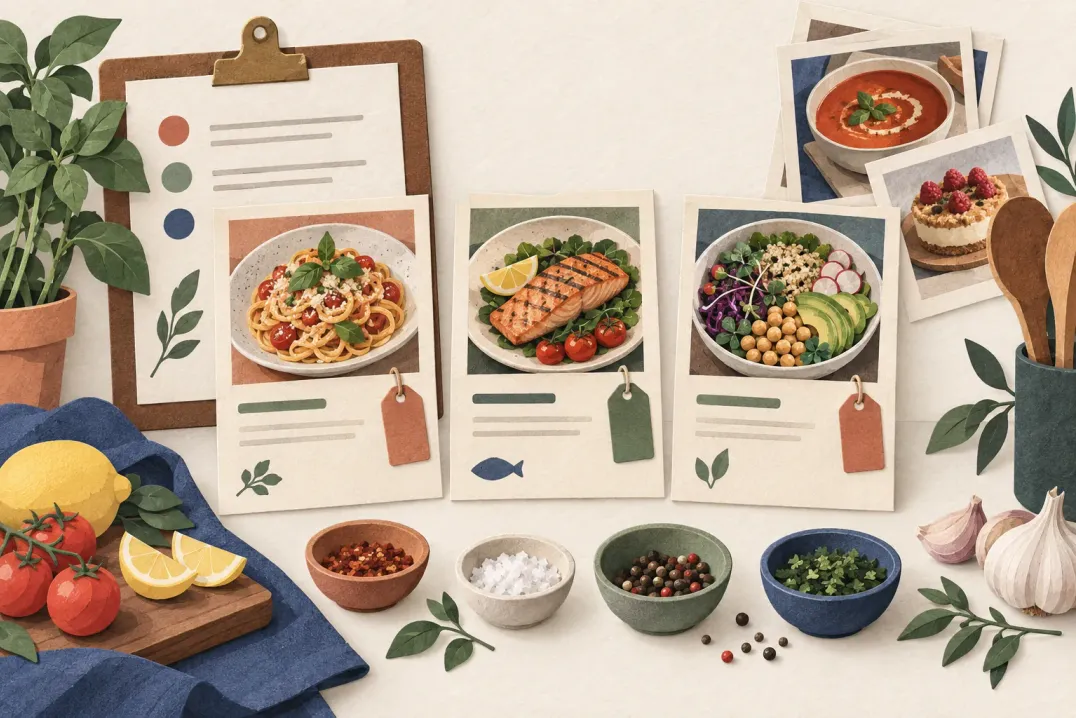
Prepare your current dishes, prices and photos before opening the editor. For example, a cafe can start with Coffee, Breakfast and Desserts, then add the available items to each category. The time needed depends on the menu size and how much content is ready.

  • Your current menu in whatever form it exists: a document, a spreadsheet, a file for the printer, or a photo of the printed card.
  • A final price for every item, including anything you were planning to adjust anyway.
  • The category names you want guests to see, in the order you want them read.
  • Allergen information per dish, checked against the 14 EU allergen categories rather than recalled from memory.
  • Photos for the dishes worth showing. Not every dish needs one, and an inconsistent set looks worse than none.
  • The languages your guests actually read, and who will produce those translations.

Part 3

Building the menu

Six steps, in the order that avoids rework.

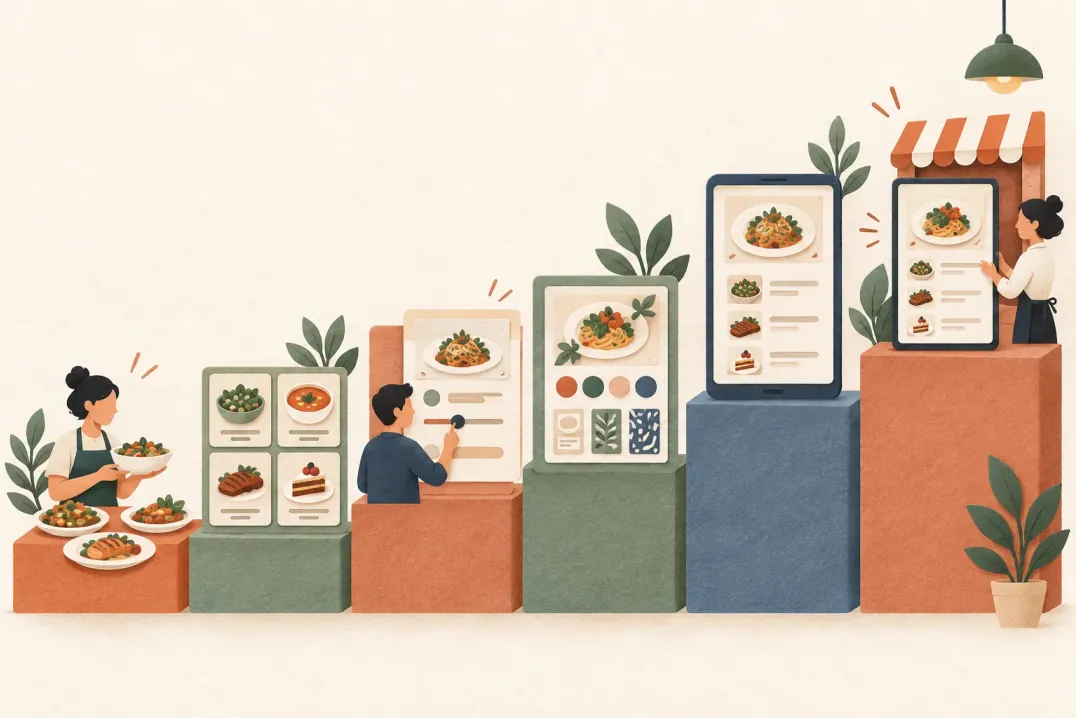
This sequence keeps you from redoing work: structure before content, content before styling, styling before publishing.

  1. 01

    Create the venue and its menu

    Register in ListoQ, create your venue and add a catalog. Enter the venue details and choose its menu address. You can manage the page from the admin workspace without code.

  2. 02

    Set the language and currency

    Pick the menu's default language and its currency before adding items. Both frame everything you enter afterwards.

  3. 03

    Lay out the categories

    Add the categories in reading order first, with no items in them. Seeing the skeleton on its own makes gaps and overlaps obvious while they are still cheap to fix.

  4. 04

    Add the items

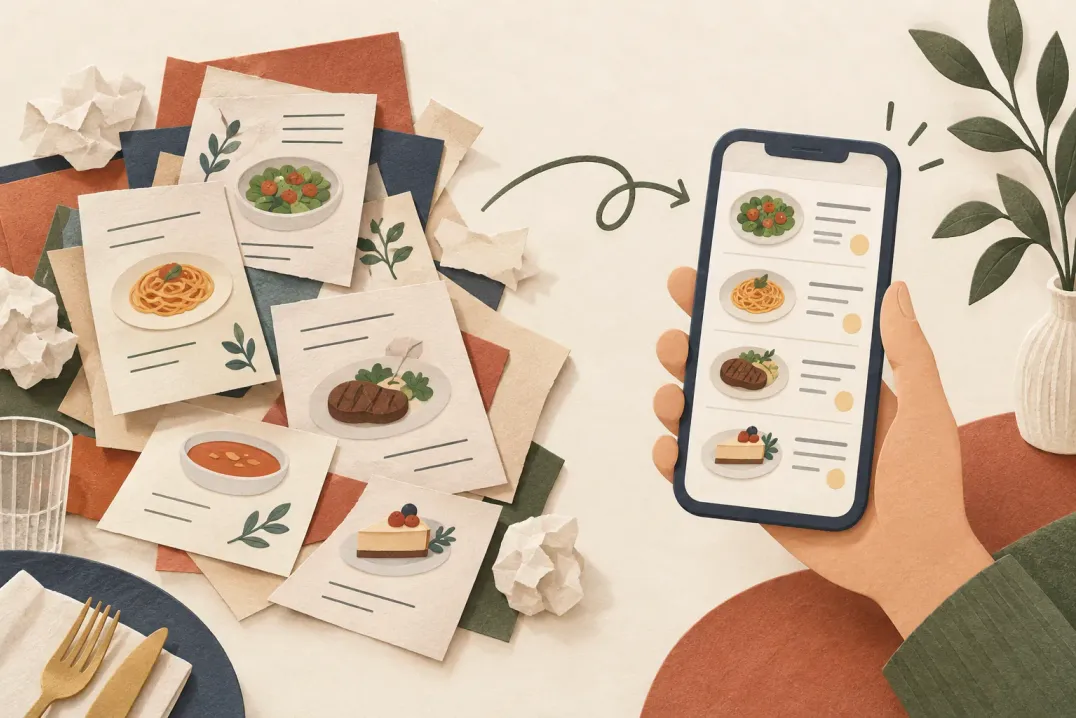
    Work category by category: name, price, description, allergens, photo. If your menu already exists as a document or spreadsheet, an AI import can read it and stage the items for you to review, up to 150 items per import.

  5. 05

    Adjust the look

    Set colours, fonts and price formatting so the page matches the room. This is presentation rather than content, so it comes after the menu is complete.

  6. 06

    Preview, then publish

    Read the whole menu on a phone before publishing. Publishing is what turns the draft into the version guests see.

Part 4

Structuring categories so guests find things

The most common reason a menu feels hard to read has nothing to do with design.

Guests read a menu in one pass, scanning for the section that matches what they want. Categories are the only navigation they have, so the names and their order carry more weight than anything else on the page.

Two rules cover most cases. Name categories the way guests would say them out loud, not the way the kitchen files them. And keep each category short enough to scan: once a section passes roughly a dozen items, it usually contains two categories that have not been separated yet.

Instead ofUseBecause
EntréesStartersGuests use the everyday word; the borrowed term costs a beat of thinking
Hot sectionMainsCategories should follow how guests order, not how the kitchen is organised
One 30-item Drinks sectionCoffee, Soft drinks, Wine, BeerLong sections get skimmed; short ones get read
Specials at the bottomSpecials at the topAnything you want ordered belongs where the eye starts
Desserts mixed among mainsOne dessert categoryGuests come back to a menu specifically for this section

Order categories like a meal, not like a spreadsheet

Reading order should follow the order people eat in. Starters, mains, sides, desserts, drinks is a safe default. Alphabetical never is.

Part 5

Writing a dish so it can be chosen

Five rules that make descriptions do work instead of taking space.

A dish description exists to answer the question a guest would otherwise ask a server: what is in it, how big is it, how is it cooked, is it spicy. Anything beyond that is decoration, and on a phone screen decoration costs the reader scrolling.

Online you have more room than print, which is a trap. More room invites you to write more, when what most menus need is to write more precisely.

  • Lead with the ingredients a guest is choosing between. The first four words do most of the work.
  • State the size or the count when it is not obvious. Three pieces or six changes the decision, and no apology fixes that afterwards.
  • Name the cooking method when it changes the dish: grilled, confit, raw, fermented.
  • Keep one voice across the whole menu. Two dishes written in different tones read as two different menus.
  • Put allergens in the allergen field rather than in the description. The field is what shows them the same way on every dish and in every language; prose does not.

Part 6

Checking before you publish

Five checks on a phone, not on a desktop screen.

The menu you build on a laptop is not the menu your guests read. Almost every problem worth catching is visible only on a phone: type that is too small, a category that scrolls forever, a price format that reads wrong for your currency.

After publishing, open the guest link and download your venue’s QR code from the QR studio. Test it on a phone before printing. For later changes, edit the draft and publish again: the stable venue QR code keeps working, including after a menu address change.

  • Read the whole menu on a phone, scrolling, the way a guest would.
  • Check every price, including the ones you did not intend to change.
  • Confirm the currency, decimal separator and symbol position read correctly for your region.
  • Check the allergen list on at least one dish per category.
  • Open the menu in each language you support and confirm nothing has been left in the default one.

Part 7

Mistakes worth avoiding

Six patterns that cost venues a second pass through the whole menu.

Each of these is easy to avoid at the start and tedious to fix once the menu is live and printed codes are already on the tables.

  • Publishing the printed menu as a downloadable file instead of building it as a page. A file cannot be read comfortably on a phone and cannot be edited quickly.
  • Printing a QR code before testing it. Download the venue’s stable QR code from ListoQ and check that it opens the published menu.
  • Photographing only some dishes. A half-illustrated menu makes the unphotographed dishes look like the ones nobody orders.
  • Copying descriptions from suppliers. They read as marketing copy and they are usually wrong about portion size.
  • Leaving allergen fields empty because the information is on paper somewhere. That is exactly the field guests need.
  • Treating the menu as finished. The advantage of an online menu is that it can follow the kitchen, and a menu nobody edits gives that advantage back.

Questions

Questions this article gets asked

Do I need a website to have an online menu?
No. The menu is its own page with its own address. If you already have a website you link to the menu from it, and if you do not, the address works on its own, on printed cards and in social profiles.
Do I need a developer to update prices or dishes?
No. Edit the prices, descriptions or availability in ListoQ, review the draft and publish the changes yourself. Guests then see the updated menu through the same venue link or QR code.
Can I work on the menu without guests seeing it?
Yes. What you edit is a draft, and it stays private until you publish. That lets you prepare a seasonal change over several days and release the whole thing at once.
How many items can one menu hold?
Up to 2,000 items, which is far beyond what a single venue menu needs. The practical limit is what a guest will read on a phone, and that is much lower.
Can I publish the menu in several languages?
Yes. Pick a default language and add the others your guests read, then translate names and descriptions for each one. Guests switch languages on the menu page, and allergen labels are translated automatically.

Next Step

Want to turn your food and drink menu into a clear customer page?

Start with your real content and keep one access point as your offer changes.