Part 1
Choose languages from real guest demand
A shorter, complete language list serves guests better than many unfinished versions.

Listen to the questions your team already answers. Languages requested at the table, used in reservations or common in your area are the strongest candidates.
Add one language at a time. A complete two-language menu is more useful than five versions where descriptions, allergens or seasonal dishes are missing.
- Record which languages guests ask for during two typical weeks.
- Check booking messages and social conversations for repeated language needs.
- Prioritize guests who struggle to understand ingredients or allergens.
- Make sure someone can review each language before it goes live.
- Set a clear owner for future translation updates.
Part 2
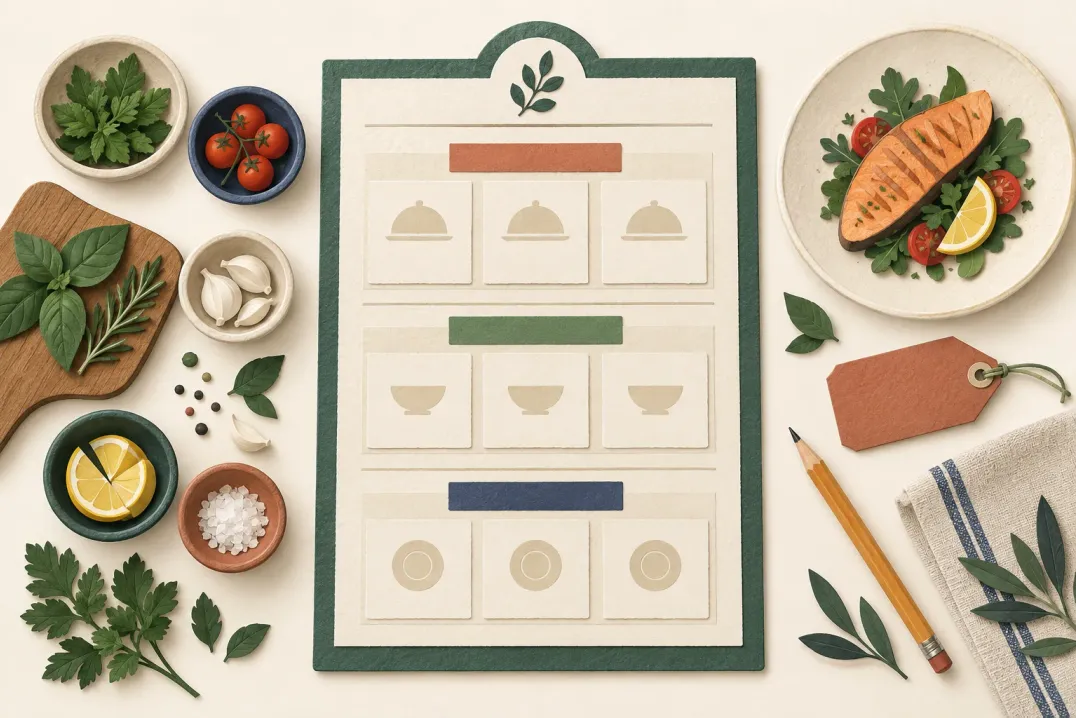
Create one reliable source menu
Translate from an approved menu, not from several documents with different prices and wording.
- 01
Finish the menu structure
Confirm categories, item order and size variants before translation. Structural changes are slower to repeat across several languages.
- 02
Standardize names and descriptions
Use one approved name and description for each dish. Remove internal abbreviations that a translator or guest would not understand.
- 03
Check factual fields
Review prices, ingredients, allergen labels and vegetarian or vegan marks in the source menu before copying the meaning into other languages.
- 04
Mark what must stay unchanged
Keep brand names, protected dish names and units consistent. Give reviewers this short list so they do not guess.
Part 3
Translate the fields guests use to decide
Prioritize meaning and consistency over a word-for-word match.
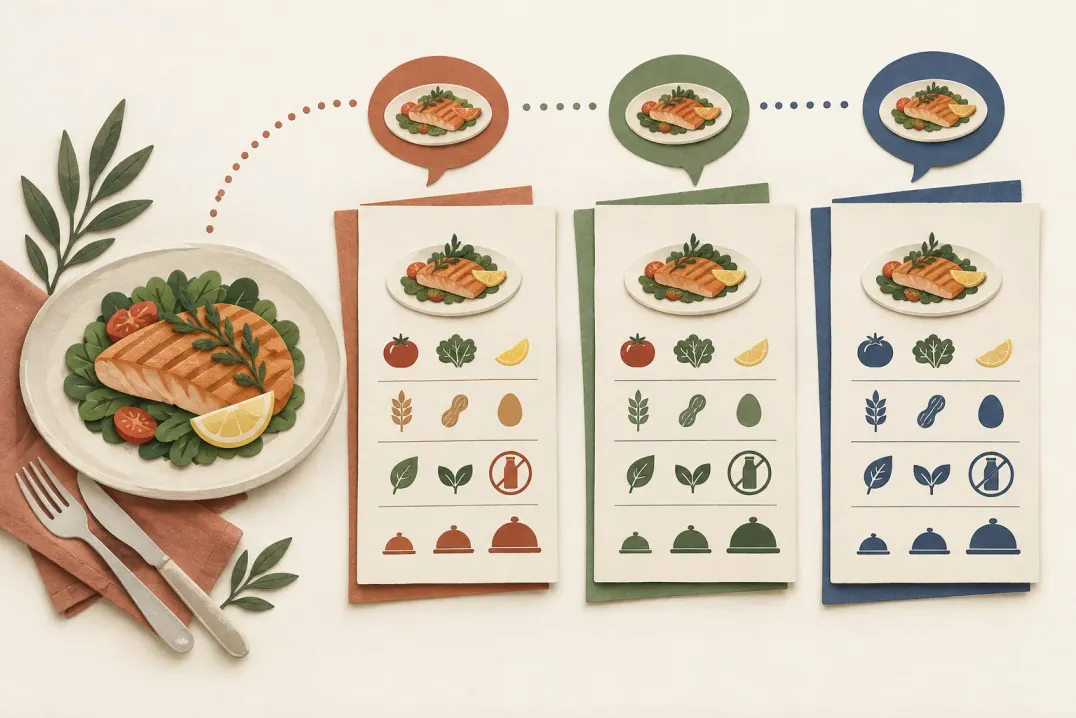
A guest needs to understand what the dish is, what it contains, how much it costs and which option to choose. Translate complete meanings and keep the same term for the same ingredient or size throughout the menu.
| Menu field | What to preserve | What to review |
|---|
| Dish name | Identity of the dish | Whether the original name needs a short explanation |
| Description | Main ingredients and preparation | Natural wording and useful detail |
| Ingredients and allergens | Every relevant ingredient and label | Accuracy, spelling and omissions |
| Size variants | The same options and prices | Units and familiar local wording |
| Categories | The same menu structure | Short labels that are easy to scan |
Part 4
Review every language like a guest
A correct translation can still fail on a phone if it is cut off, unclear or attached to the wrong item.
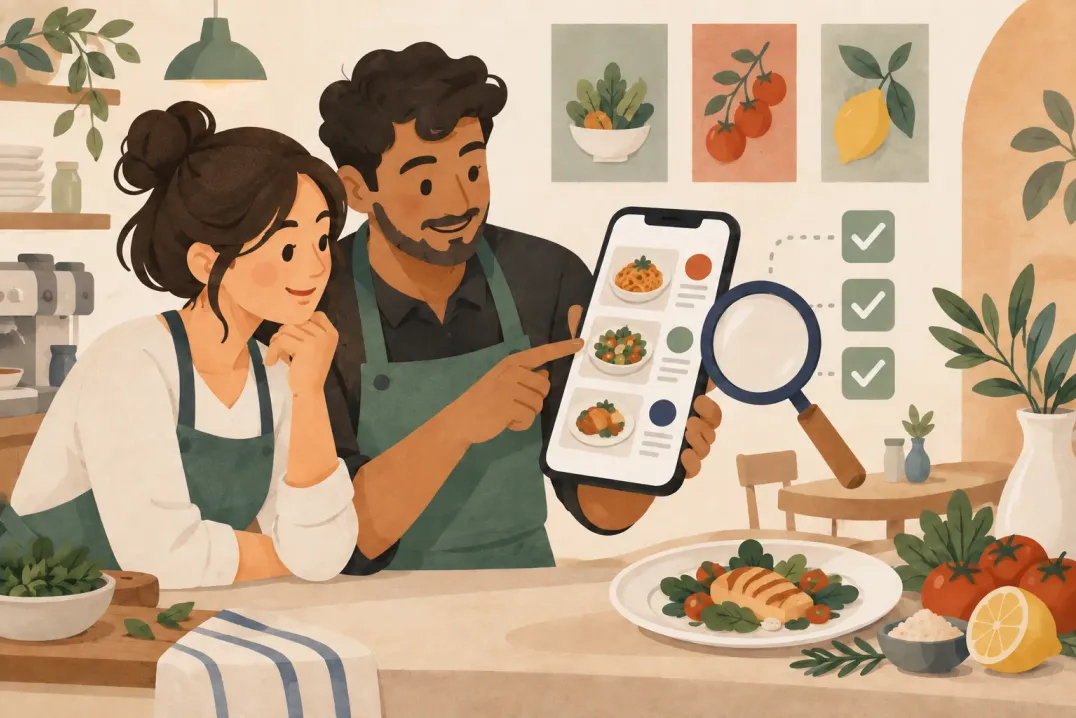
- Open the guest menu on a phone, not only in the editor.
- Check every category and at least one long item description.
- Compare prices and size variants with the source menu.
- Review ingredients, allergen labels and dietary marks item by item.
- Look for untranslated text, mixed languages and internal notes.
- Ask a fluent reader to check meaning, tone and local food terms.
Test the decision, not only the sentence
For each item, ask whether a guest can choose confidently without switching back to the source language or asking staff what the description means.
Part 5
Keep every language current
The workflow matters most after publication, when prices, availability and seasonal dishes start changing.
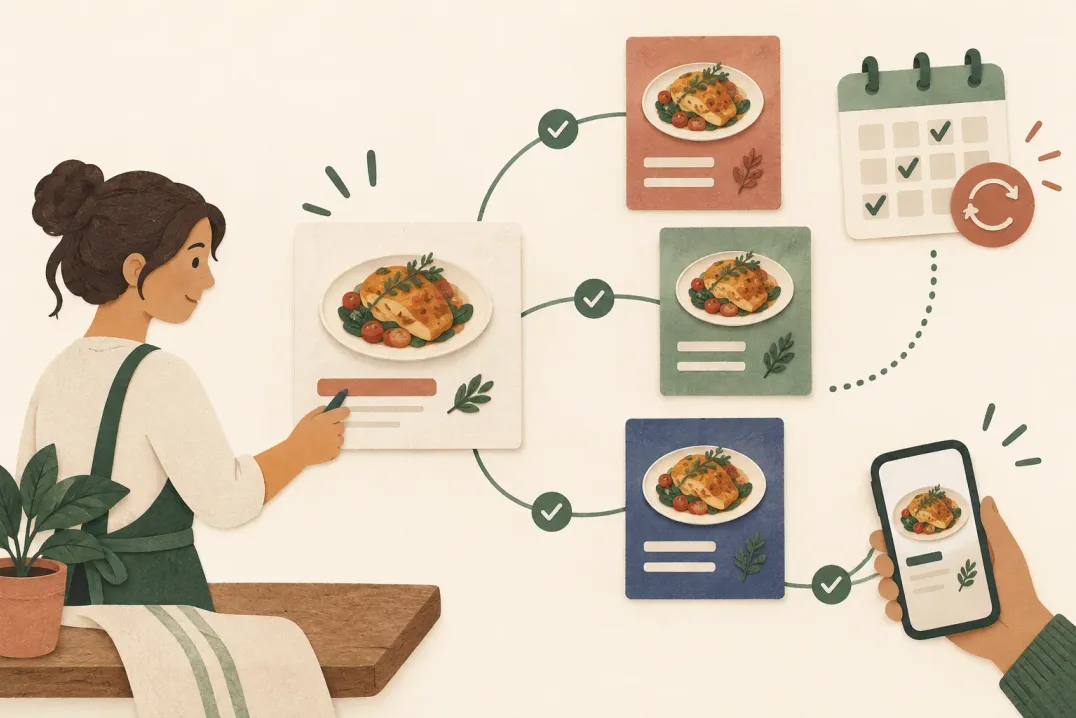
Use the source menu as the change log. When a price, description or ingredient changes, note which translated fields are affected before publishing.
In ListoQ, prepare edits in the draft and publish after the updated languages have been checked. Guests keep seeing the last published version while the draft is being prepared.
- Bundle seasonal changes into one review instead of sending them one by one.
- Hide a sold-out item in every language by changing the item once, rather than leaving an outdated translation visible.
- Recheck translations when ingredients or allergen details change.
- Use the same reviewer and terminology list for recurring updates.
- Scan the published menu after every release and switch through all active languages.
